The Art of Drying Shrimp (Cajun Dried Shrimp)

Ingredients
- 50 lbs shrimp or whatever amount you have on hand (heads and shells on)
- Handful of salt
Step-by-Step Instructions
- First consult the weatherman and make sure that you will have at least 3 days of sunshine as the shrimp need that time to cure.
- Next, heat up a pot (size will depend on quantity being cooked) with water to boiling. Add to the water double the amount of salt you would normally use when boiling shrimp for eating. Boil the shrimp about 10 minutes or until they turn pink and start to float. Remove the shrimp and strain. This liquid can be kept and used for gravies, gumbos and stews.
- Have a surface of wood or screen ready and big enough where you can lay the shrimp singly with none of them overlapping or atop of each other. My Cajun friend uses two saw horses with an old wooden door laid across.
- Every three to four hours turn the shrimp rotating their position so that the shrimp dry on both sides. In the evening when the sun is going down, cover the shrimp with cloth or burlap and bring inside a shed or building. Generally night air has a tendency to bring in the moisture and moisture is the enemy of drying/dried shrimp and the friend of bacteria. Repeat for three days. You will see from day to day the head and shell start to pull away from the body of the shrimp.
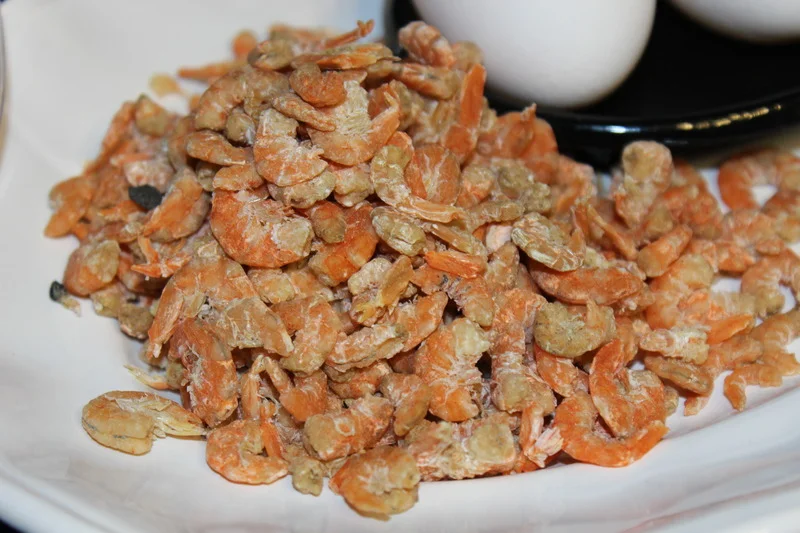
- At the end of the third day or the next, empty the shrimp into a sack with holes poked in it. Take the sack and shake it, even going as far as gently batting the sack on the side of a building or the ground. The shells and head at this point have turned to a fine gritty powder. By moving the sack around, downwind from you, all of the grit blows away into the wind leaving only your dried shrimp. Voila!
- Store your shrimp in an air-tight sealed plastic jar in a dry area. If you have abundance, place them in the freezer remembering that moisture can destroy all your hard work.
- These shrimps can be used in making stews, gravies, piquant sauces and gumbos. It’s hard to beat a shrimp, egg and okra gumbo. They can be used as a flavoring agent in potato salad.
Common Problems and Solutions
Q: What if it rains during the drying process?
A: Rain will ruin your batch by adding moisture. You must bring the shrimp inside immediately and wait for another stretch of at least 3 consecutive sunny days to start fresh. This is why checking the weather forecast is critical before beginning.
Q: Why do the shrimp need to be covered at night?
A: Night air brings moisture (dew) which encourages bacterial growth. Always cover with cloth or burlap and bring the shrimp into a dry building overnight to prevent moisture from undoing your work.
Q: How do I know when the shrimp are completely dried?
A: After 3 days of sun-drying, the shells and heads should easily separate from the body and turn to powder when you shake the sack. The shrimp meat itself should be very hard and brittle - there should be no soft or pliable spots.
Tips and Techniques
Use heads-on shrimp for this recipe as the heads add flavor and the drying process makes them easy to remove. Save the salty boiling liquid for seasoning gumbos and stews later. Always work downwind when shaking the sack to remove shells, or you’ll be eating grit for days.
Equipment Needed
- Large pot for boiling shrimp
- Wooden surface or screens for drying (saw horses with an old door work perfectly)
- Cloth or burlap covers
- Burlap sack with holes poked in it (for removing shells)
- Air-tight plastic jars or containers for storage
Historical Context
Before modern refrigeration, Cajun and Creole families along the Gulf Coast dried shrimp as a way to preserve the catch and create an intensely flavored seasoning ingredient that could last for months. Dried shrimp became a staple flavoring in traditional dishes throughout Louisiana.
You Might Also Like

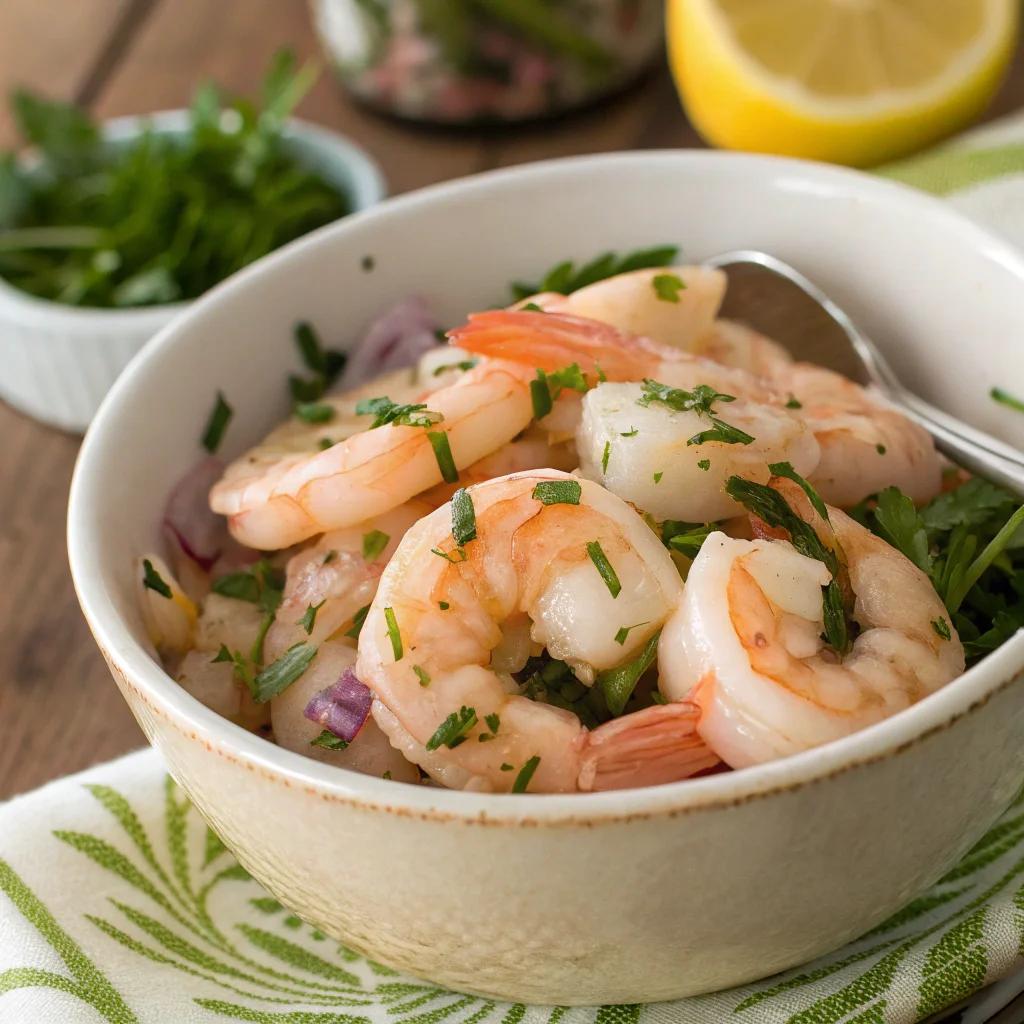
Marinated Shrimp for Salad or Appetizer
Shrimp/Crawfish Dip

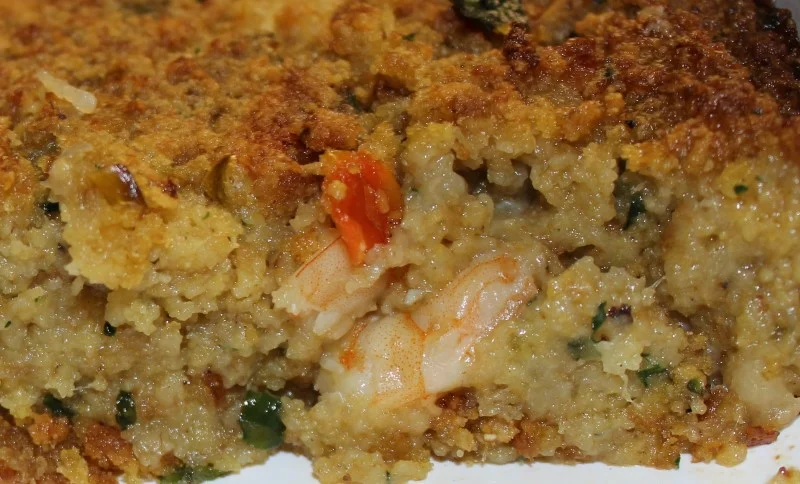
Seafood Surprise


